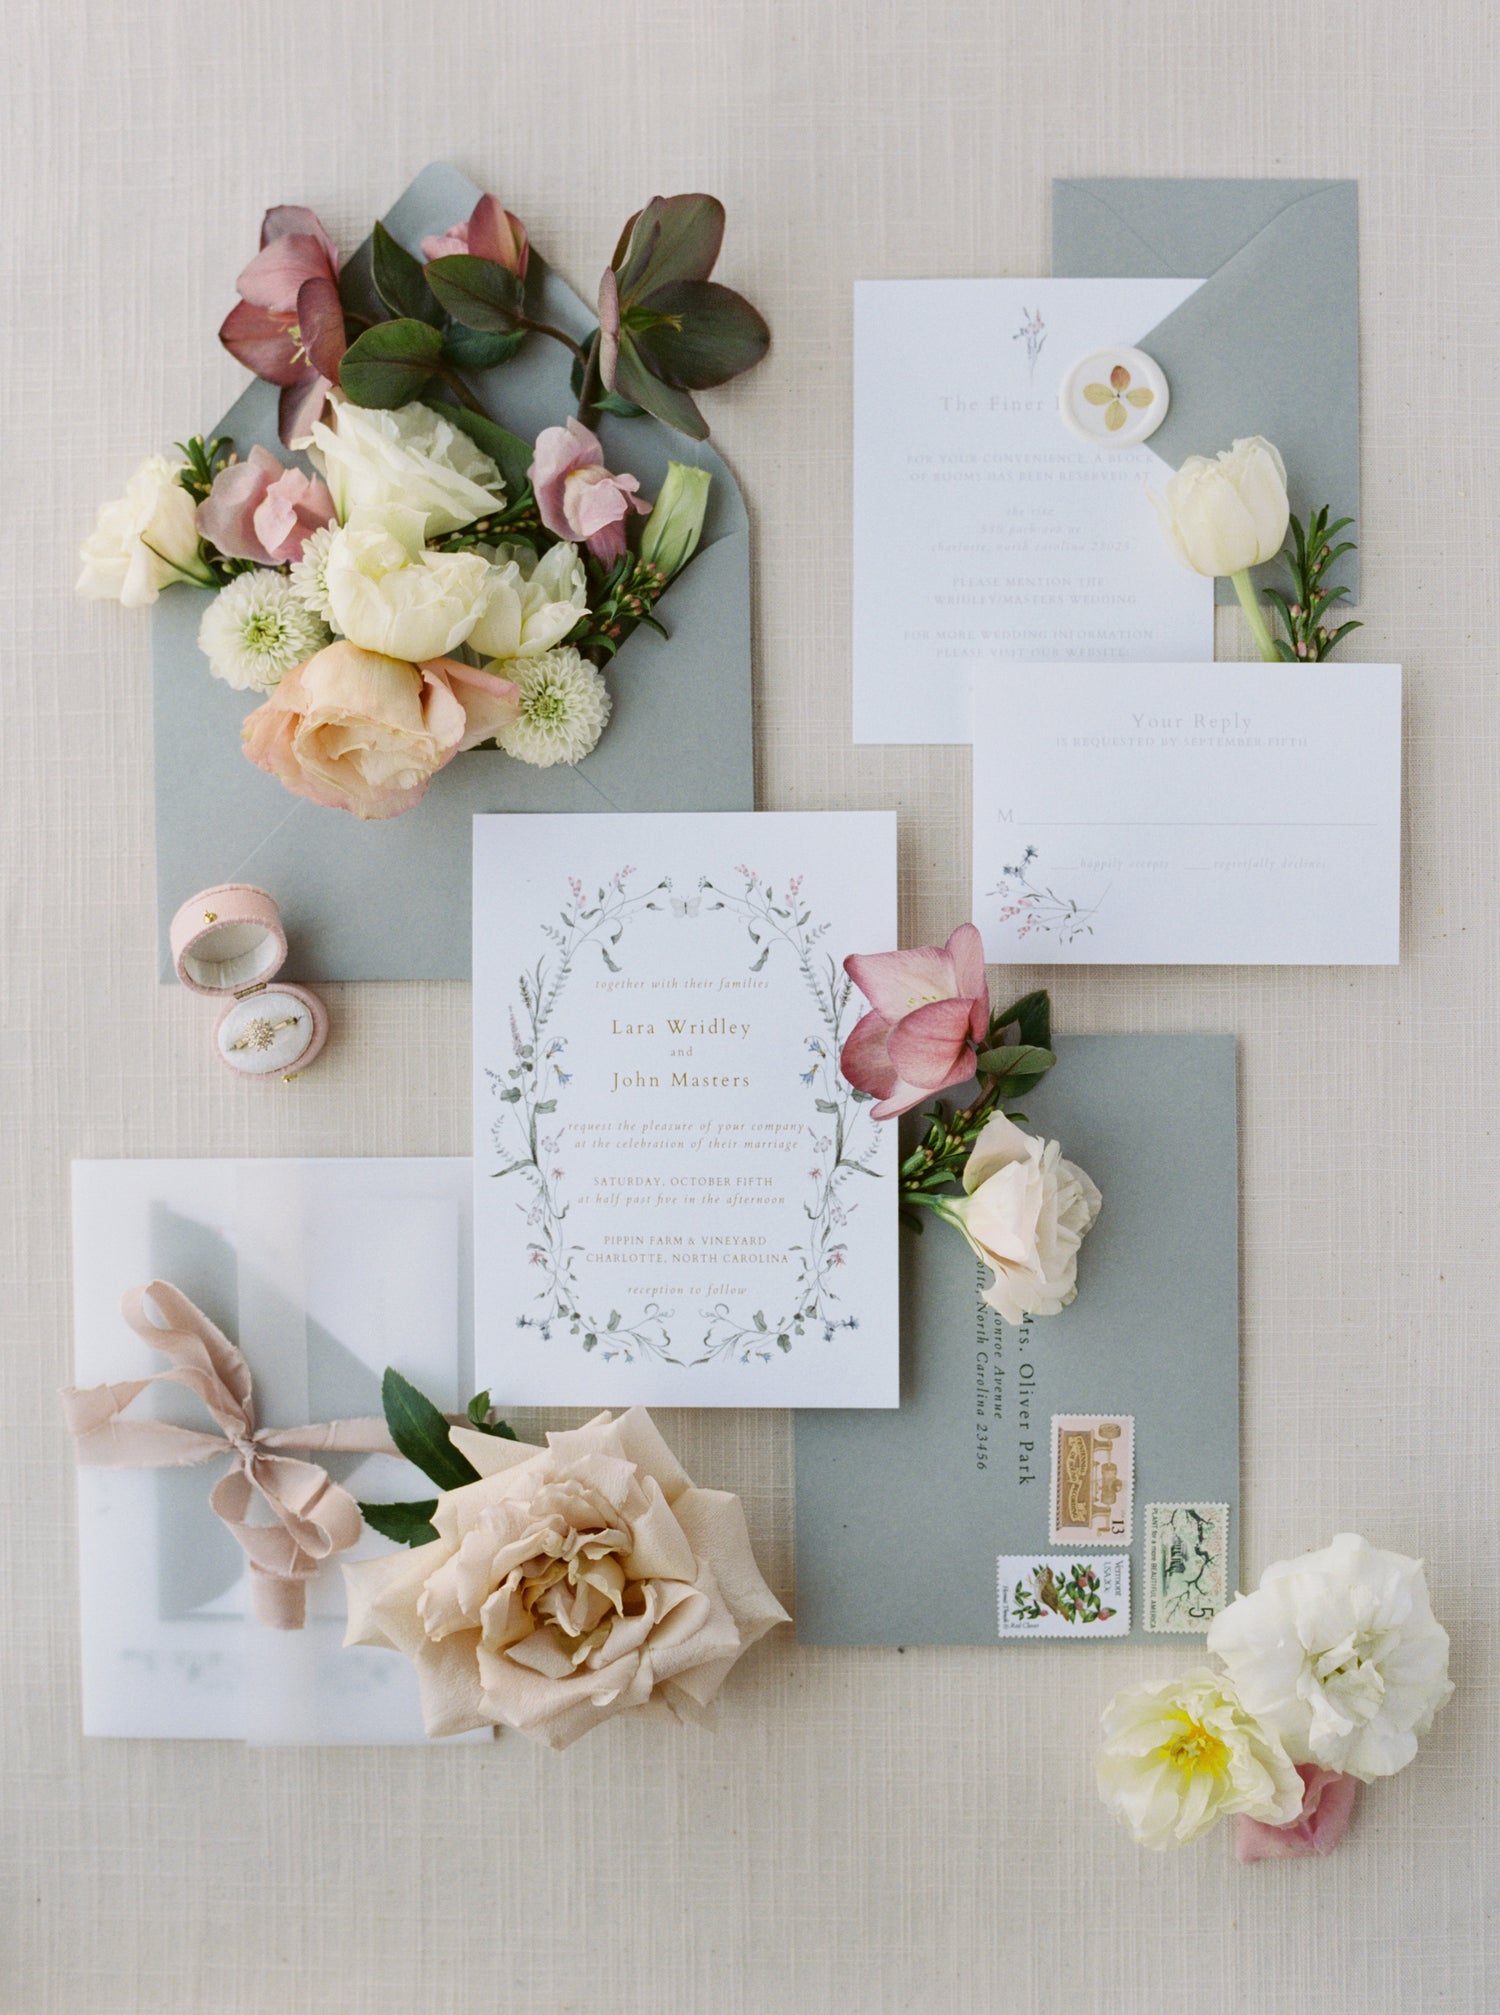
The Invitation Guide
Hello there + thank you for your interest in JC Paper & Co. for your wedding invitations! Below is a guide on how our wedding invitation process works that will hopefully answer any and all questions you could ever have! We break down from the initial steps, all the way to mailing your invites. Of course if you have any more questions don't hesitate to reach out.
Happy wedding planning!

Step 01. Design Selection
One of the most exciting parts of the invitation process is finding your design. Feel free to browse through them all and find what works best for your wedding aesthetic and needs. The best part? All of our designs can be tested BEFORE you purchase your suite. Yes you heard that right, you can make sure you love the way your wording, names and so much more looks prior to making the investment so there are no surprises once you have your files in hand.
Many of our suites offer multiple pieces to choose from. Such as invitations, reply cards, detail cards and more. Additionally many of our inserts come in multiple styles (ex. reply cards come in mailing form or online form) + sizes (ex detail cards come in 3 sizes depending on how much information you have to share) so no need to worry there.
-

look through all of our design options
-

pick the pieces that work best for your event
-

copy the link in the suite description to test out the design before you buy!
Step 02. Creating Your Suite
Now that you have your design picked it's time to purchase and edit it to your needs! Our invitations are digital files so once your purchase is made you will receive an email to create an account to be able to edit your design almost IMMEDIATELY. The best part about our templates is almost EVERYTHING is editable. This includes wording, ink colors, fonts and more! Working in the industry for so many years and being a bride myself I realized truly how unique every wedding was. The freedom to edit your suite allows you to use the wording you love, choose from our pre-picked ink colors or make them your own as well as change titles, remove graphics you maybe don't love so much or leave it exactly as designed!
-

purchase your pieces, receive an email with your link and open to view all your files!
-

all suites include a page with our pre-selected ink colors. You can copy any color code or use your own.
-

edit files to your information. change, wording, fonts, and/or ink colors exactly as you want them.
Step 03. Printing
Once your full suite is ready to go it's time to download and print your pieces. There are multiple options for downloading depending on what you plan to do with your design. You are able to print multiple per page for at home printing or the exact design size for professional printing. Downloading also gives the ability to add things such as bleed margins + trim marks if required!
For professional printing you will need to download to your printers specifications or our most suggested option would be to use us for printing. Yes thats right we offer printing services! I remember as a bride wanting the freedom to create my own suite but I also found that meant I had to sacrifice the overall quality once made. Having us print for you is affordable and ensures you receive the most accurate colors when printed! We also offer luxury methods such as letterpress, foil and multiple paper options.
* please note the only way to have your invitations printed in foil or letterpress is to go through us, other printers cannot convert your files to do so.
-

digital printing
-

letterpress printing
-

foil printing
Step 04. Assembling & Mailing
The most exciting part is recieving your invitations, assembling and mailing them to your guests! We recommend fully assembling one suite and taking it to the post office to confirm the correct postage.
Once you have the invites assembled we recommend popping them in the mail 6-12 weeks prior to your wedding!


