The Printing Guide
Hello there + thank you for your interest in JC Paper & Co. for your printing needs! Below is a guide on how our print process works that will hopefully answer any and all questions you could ever have! We break down from the initial steps, all the way to mailing your invites. Of course if you have any more questions don't hesitate to reach out.
Happy wedding planning!
Step 01. Choosing Printing Methods
Now that your invitations are designed it's time to get them printed! We offer three styles of printing to choose from. Many of our couples will choose to combine printing styles such as selecting a foil invitation + digitally printed inserts.
-

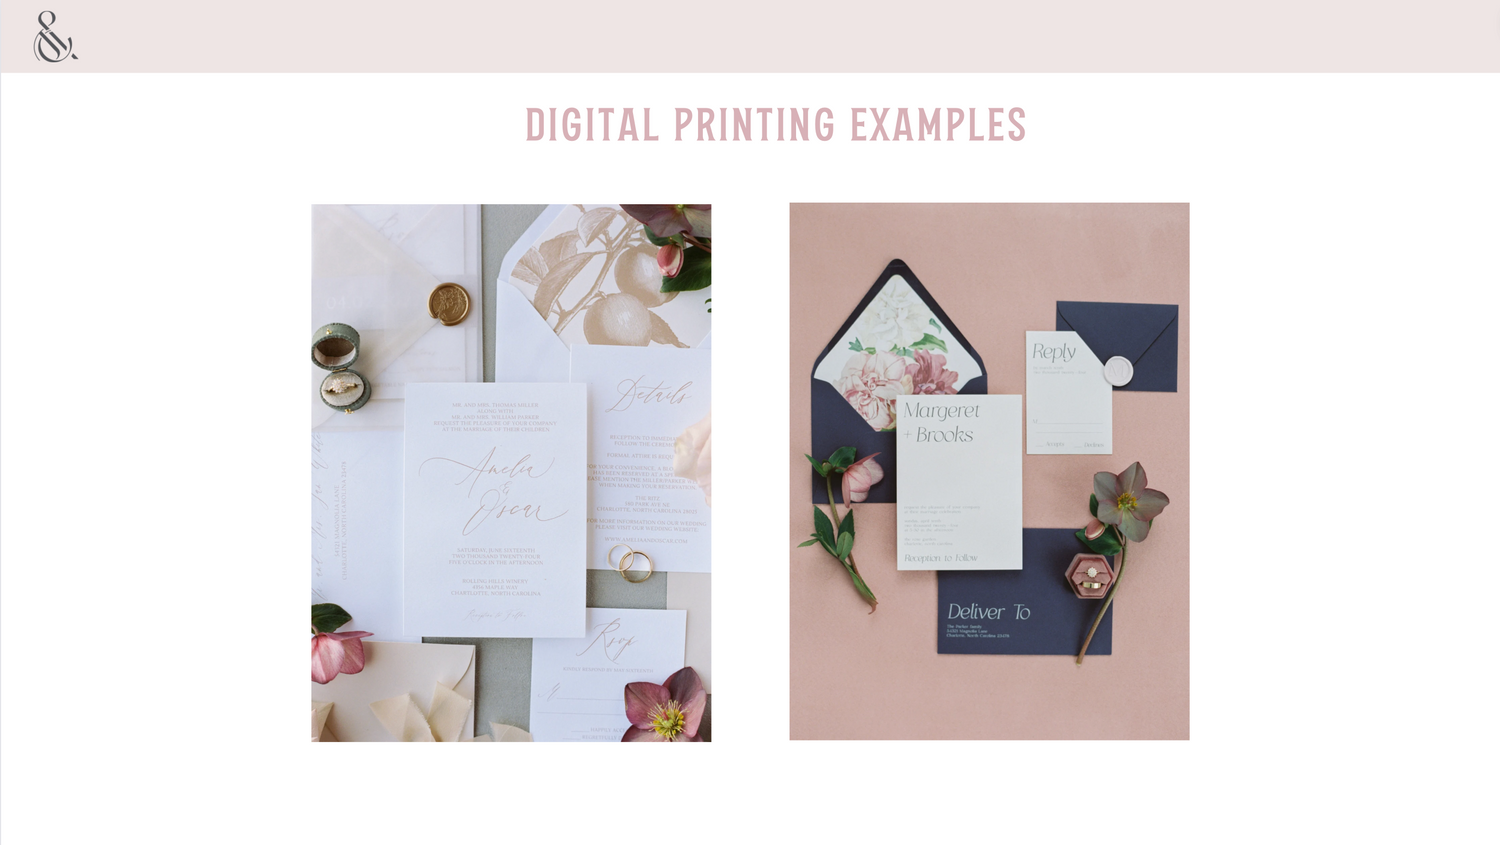
digital printing
-

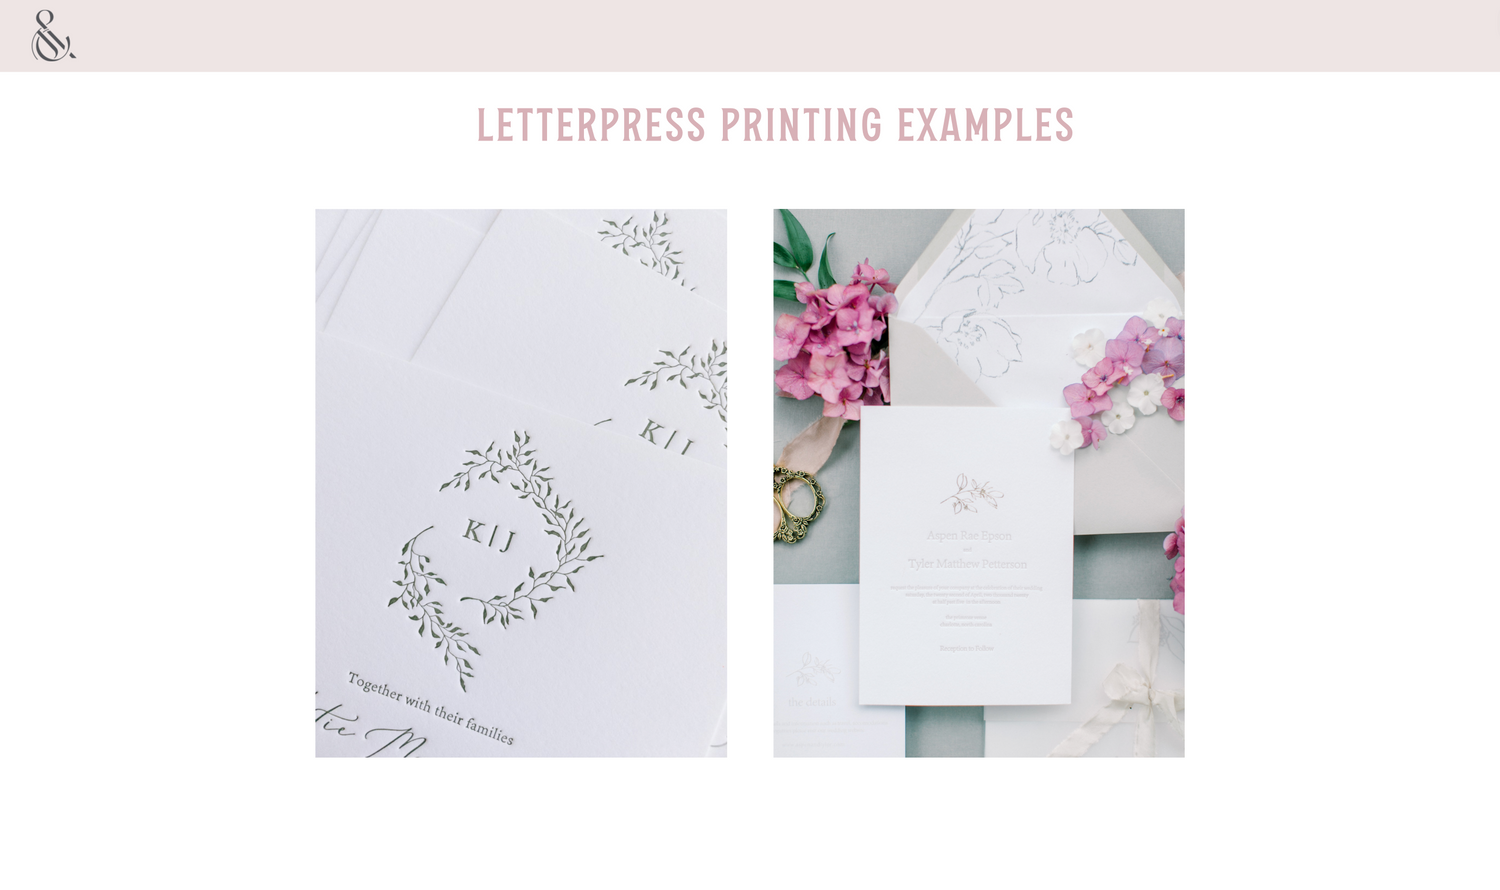
letterpress printing
-

foil printing


Step 02. Paper Options
We offer multiple types of paper styles as well as two paper colors to meet your specific needs!
Digital + Foil printing offer your choice of eggshell or cotton paper. Letterpress printing will automatically be printed on a cotton style paper. All printing methods offer ultra white or ivory color choices. We also offer an optional add on for a thick stock upgrade which doubles the weight of your paper. For thick stocks we recommend upgrading no more than two pieces to make sure they will fit in your envelope. Many couples choose to upgrade their invitation only and leave any enclosures as our standard stock.
-

paper types
-

paper colors


Step 03. Place Your Order
Once you pick what printing methods you would like to use and have all your files ready it's time to place your order! Head to the printing method you would like for your piece and select the corresponding size. Don't know what size insert you used? We labeled it on the file you downloaded so no problem there!
From here select the proper quantity per size card and add to your cart!
Quick tip - We know part of wedding planning is needing flexibility. We have many clients that create multiple design variations to send to different guests. If you are doing this please
make sure to order printing in the proper quantity per design not per card type.
Example-
100 invitations are in english and 100 are in spanish. Do not order 200 A7 cards.
Order 100 A7 cards and another set of 100 A7 Cards.
From here you can place your order and the fun begins!
Step 04. Submitting Files
Once your order is placed we will begin setting up a form for you to submit your files. Forms are manually setup on our end based on your order - you will receive this within
24 hours of order placement M-F to the email entered at checkout.
Your form will request all files pertaining to your order as well as any other necessary information such as what paper color you would like, any ink color codes (letterpress printing), foil colors etc.
Please also note files for printing must be setup to our specifications. When you purchase any printing service you will receive a guide on how to make sure your files are setup properly & how to download them properly. We recommend reading through this PRIOR to creating your
designs. Things such as envelope printing need to be setup a ceratin way, and we want to make sure you avoid the headache of needing to redo it as it can be time consuming.
Step 05. Production
We will review your files to make sure they are setup to our print standards. We will not double check spelling etc. so please make sure your files are 100% accurate prior to submitting. If there is an issue with any file we will reach back out to you so please be on the lookout just in case! This will cause delays until we receive the proper files.
Once approved we will send everything through to production and keep you updated on the process!
Production Times
Digital - 2 to 7 business days
Letterpress - 10 to 14 business days
Foil - 7 to 9 buisness days
*times based on file submission + approval
Once production is finished you will receive a shipment notification with tracking to your original order.
We know anything event related can be overwhelming
if you ever need us feel free to send a message and we'd be happy to help!